

Pavtube Video to Apple TV Converter is a multifunctional tool to put almost all audio and video files onto Apple TV. Due to its tremendous powerful function, it can convert all popular video and audio formats, such as WMV, ASF, WMA, AVI, RMVB, RM, RA, MOV, QT, MP4, M4V, 3GP, 3G2, DAT, MPG, MPEG, MP3, VOB, DV to Apple TV supported video or audio formats including MP4, MP3, AAC, M4A, WAV. With it, you can enjoy most videos from the computer on wide screen TV comfortably.
Compared with other similar products, it has multiple functions. The super conversion speed and the brilliant conversion quality are beyond your imagination! In addition, you can custom the videos by trimming and cropping to gain your favorite videos. If you want more controls on the videos, the advanced settings are the best choice. You can adjust the parameters such as bit rate, frame rate, video size, etc. Besides, joining multiple videos into a large one is possible and you can enjoy the whole movie without any interruption.
Step 2. Install and Launch Pavtube Video to Apple TV Converter
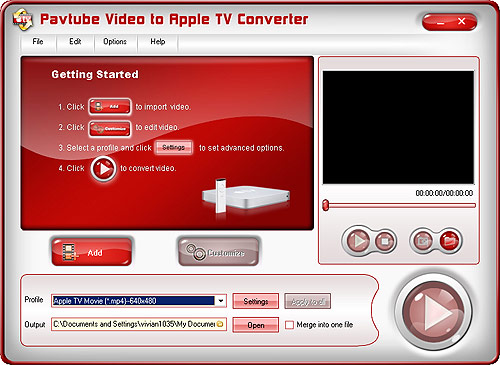
Download and run Video to Apple TV Converter and you will see its main interface.
Step 3. Import your favourite movies
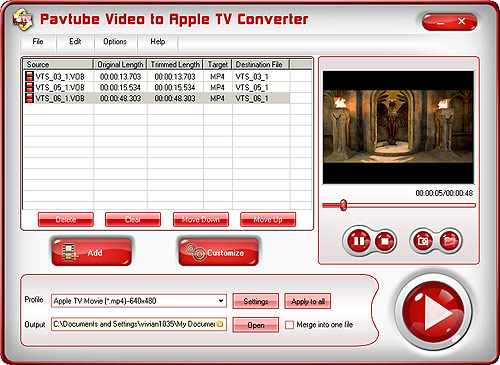
Import the videos to the file list by clicking Add button. Then you can edit the list using the buttons under the list.
Step 4. Setting

Open the profile drop-down bar to select the target conversion format for playback on Apple TV. After this, please open output drop-down bar to specify where to save your converted files.
Step 5. Edit Importing video files
Previewing the video is a good choice for you. Under the preview window, you can click the button to capture the still pictures to save on your PC for enriching the picture collection.
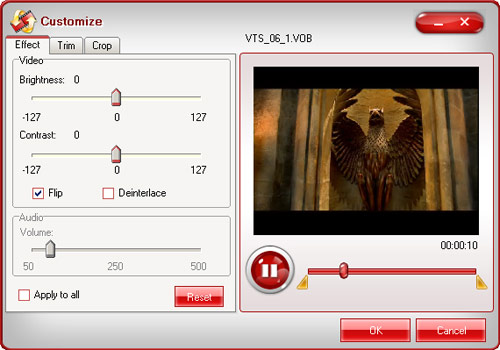
Step 6. Setting brightness, contrast, volume for video and audio

Adjust brightness, contrast, volume for video and audio. In addition, you can tick to modify the image effects in flipping and deinterlace.
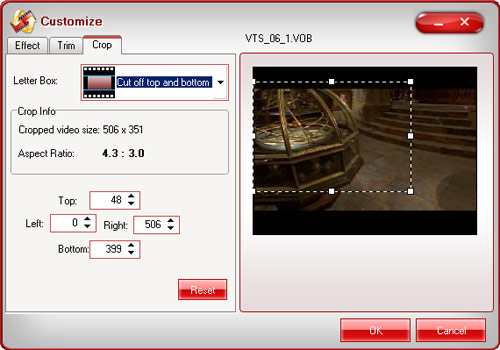
Step 7. Crop
Drag the slider or set the number manually to choose the starting time and the ending time. You can gain the selected time phase for enjoyment.
Step 8. Setting Output Video file Formate
Open the drop-down list to select which edges to be cut off. Drag the frame-mark to specify the region you want.
For better effects, clicking setting button can satisfy you. Tick to select which part to modify, video or audio. One click for the parameter can make the triangle button appear. Hit it then amend the parameter.
For better effects, clicking setting button can satisfy you. Tick to select which part to modify, video or audio. One click for the parameter can make the triangle button appear. Hit it then amend the parameter.
Step 9. Encoder and Output your Apple TV file
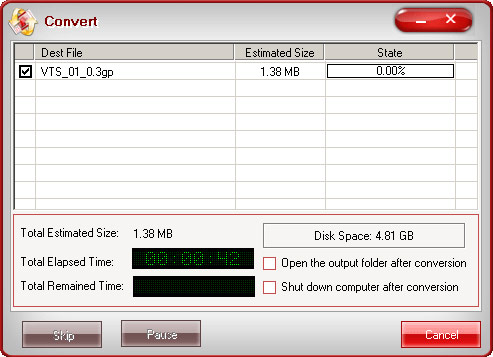
Click the merge button to create a single file. If you wish to reduce the trouble of resetting, hit apply to all button.
Start to run the program by clicking the button. After this, you can confirm the converted file on your PC by hitting open button. Here all the preparing work is finished. Then you can transfer the converted file to your Apple TV for enjoyment.
Start to run the program by clicking the button. After this, you can confirm the converted file on your PC by hitting open button. Here all the preparing work is finished. Then you can transfer the converted file to your Apple TV for enjoyment.